
IES VARevitLink User's Guide
Part 3: Importing a VisualAnalysis model into an empty Revit Project
Selecting the command without having a .vap project that was created during the Export process will allow you to merge a VisualAnalysis project into the Revit project currently open. The behavior of this link will depend on whether the Revit project has anything currently in it. If you create any empty Revit project from a “Structural Template” the VisualAnalysis members will be placed into the Revit project as beams, columns, and braces, whereas VisualAnalysis areas will be placed into the empty project as walls and floors. Figure 6 shows the Import Dialog when performing this command.
![]()
Figure 6: Import Dialog (with an empty Revit Project)
On the left you will see a summary of the objects in the VisualAnalysis project that can be imported into the Revit project. These checkboxes can be used to select which objects are to be imported. Note that an Analytical Model object will be created for all of the items imported.
During the Import process, the VARevitLink will search the loaded Family Symbols for a match to the VisualAnalysis member. Most steel, concrete, and wood shapes in a VA model can be matched to Revit Symbols. However, for this to happen the corresponding Family Symbols must be loaded into the Revit project before importing. If a match cannot be found, the values in the right column will be used as the default Revit Symbols used to import the VA beams, columns, and braces. Also in this list are the default Revit Walls and Floors that will be used if a matching type cannot be found for the VA areas being imported. Concrete and masonry materials used in VA will usually match Revit concrete and masonry Families if they have been loaded before importing.
Note that Area elements in VisualAnalysis will be imported as Revit Floors if their normal vector is parallel to the Z axis. VA Areas with a normal vector which has a “Z” coordinate component of zero will be imported as Revit Walls. Also note that Areas with openings that are being imported as floors will have the openings created in the Revit Model. This is not true for Revit Walls, as holes in walls will be ignored.
After the Import is complete, a Summary of the Import operation will be displayed, similar to the one shown in Figure 7.
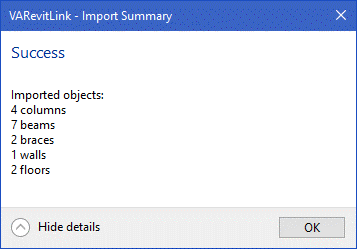
Figure 7: Example Import Summary